Dave’s Computer Repair Blog – How to configure hosted Exchange on an Android device
With so many of us working on the move, it makes sense to have everything we need on all our devices. Hosted Exchange ensures you get your email when you need it and also access your Outlook calendars, reminders, tasks and contacts. It’s a worthwhile thing to having running on your device, which is why I put together this quick guide on how to configure hosted Exchange on an Android device.
Configure hosted Exchange on an Android device
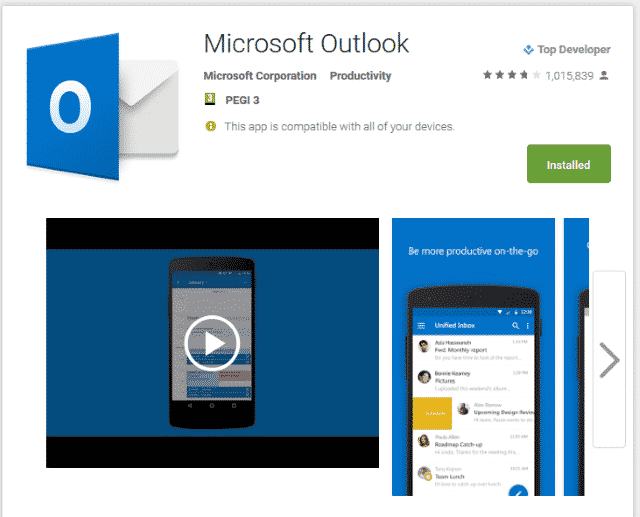
Microsoft has released fully compatible Android versions of its Office apps which you can use to get Outlook working on your Android device. Once installed, it’s a matter of a couple minutes’ work to get everything working.
- Download and install Microsoft Outlook for Android.
- Open Outlook and tap Settings, Add Account and Add Email Account.
- Enter your email address and hit Continue.
- For hosted email accounts such as Outlook or Gmail the app will automatically discover the correct settings. Otherwise, you may have to find out the email server of your email host and add it manually.
- Enter your password when prompted.
- Confirm and test the connection when prompted. You may have to agree app access to device data too.
You can also configure hosted Exchange manually if you prefer not to install the Outlook app. You will need to install an ActiveSync license first and then assign it to the email address.
- Tap Settings, then Accounts on the Android device.
- Tap Add account and then Exchange ActiveSync.
- Enter your email address and password and then hit Manual setup.
- Enter your email address once more and the email server address.
- Leave Domain blank and add your email address as the username.
- Enter your password once more and select ‘This server requires an encrypted SSL connection.’
- Allow remote security administration if prompted.
- Select the services you want to synchronize and tap Next.
- Add an account name and tap Finish setup.
Either method should have your email working flawlessly on your Android device.
Thank you for reading Dave’s Computer Repair Blog, if you ever need computer repair or data recovery assistance give us a call or fill out the contact form on the bottom right of the website.

