How to Install Windows on a New PC Build: Step-by-Step Guide
Getting Started with a Fresh Build
Building a new PC is an exciting project, but your system isn’t truly ready until the operating system is installed. For most users, installing Windows is the final step before using the machine for work, gaming, or general use. Whether you’re a first-time builder or assembling a system for your business, this guide will walk you through how to install Windows on a new PC build smoothly and without stress. At Dave’s Computers, your custom PC build experts in NJ, we help DIY builders and professionals in New Jersey every day, making sure their new setups start off right.
What You Need Before Installing Windows on Your PC
Before jumping into the installation, it’s important to gather a few key items and confirm that
your hardware is ready. Here’s what you’ll need:
Hardware checklist:
- A powered, fully assembled PC with all components installed
- An SSD or hard drive installed and properly connected
- A monitor, keyboard, and mouse
Software & tools:
- A USB flash drive with at least 8GB of free space
- A Windows installation image (ISO file)
- Microsoft’s Media Creation Tool
- A reliable internet connection
- Your genuine Windows product key
Pro tip: Make sure your SSD is detected in BIOS and that cables are properly seated. Also,
download any essential drivers (network, storage, GPU) in advance and store them on a
second USB drive if needed.
At this point, it’s also smart to back up important files from your old computer to avoid losing
anything during the transition.
How to Create a Bootable USB for Windows
The easiest way to install Windows on your new PC is through a bootable USB drive. Here’s
how to prepare it:
Step-by-step instructions:
1. Download the Media Creation Tool from Microsoft.
2. Insert your USB drive into your current computer.
3. Launch the tool and select Create installation media for another PC.
4. Choose your preferred language and Windows edition.
5. Select USB flash drive as the target and confirm the correct device.
6. Wait for the process to complete—this may take several minutes.
When done, you’ll have a bootable USB drive ready to install Windows on your new PC
build. Label this drive so it’s easy to identify later. Avoid using it for other files, and store it in
a safe spot. You might need it again if you upgrade or reinstall.
BIOS Setup and Installing Windows
Now that your bootable USB is ready, it’s time to begin the actual installation process.
Follow these steps:
1. Insert the USB into the new PC and power it on.
2. Enter BIOS or UEFI settings by pressing Delete, F2, or Esc during startup.
3. Change the boot order so the USB device is listed first.
4. Save changes and restart the computer.
Once your PC boots from the USB, the Windows Setup screen will appear. You’ll be
prompted to:
- Choose your language, time, and keyboard layout
- Enter your Windows product key (or skip and activate later)
- Accept the license agreement
- Choose Custom: Install Windows only (advanced)
Drive selection: Choose your SSD or hard drive as the destination. If the drive doesn’t
show up:
- Double-check your SATA/NVMe connections
- Confirm it’s visible in BIOS
- Load storage drivers from a second USB if needed
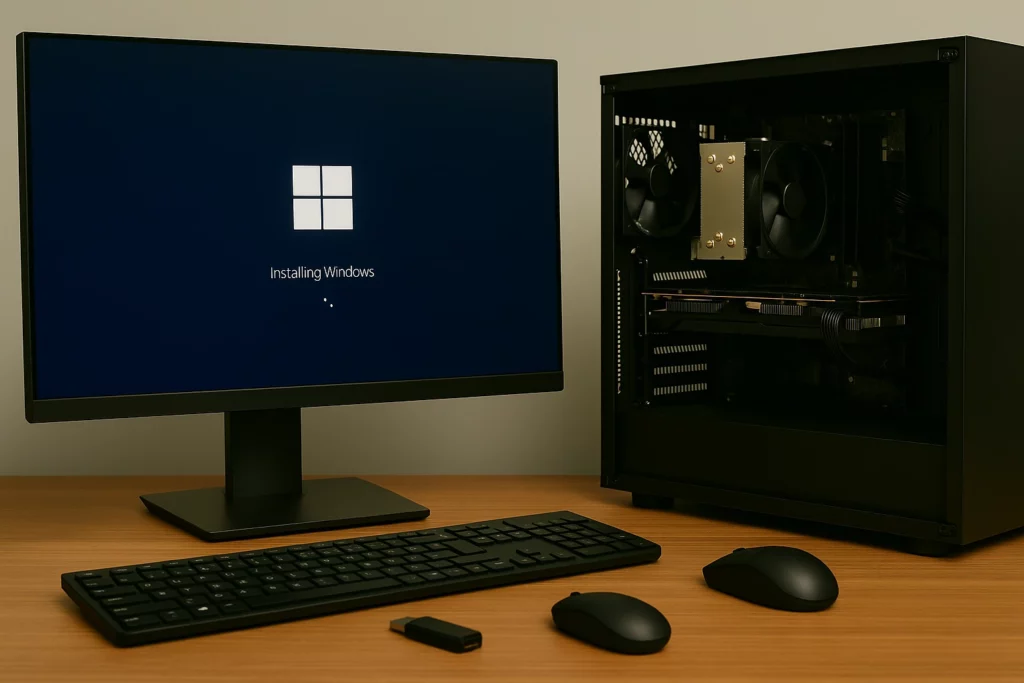
Windows will then copy files and begin the installation. This part is mostly automatic. Your
PC will restart a few times. Afterward, you’ll be guided through:
- Creating a user account
- Choosing privacy settings
- Connecting to Wi-Fi
- Logging in with your Microsoft account
You’ll have Windows installed and ready in less than an hour.
Troubleshooting Common Installation Issues
Even with careful prep, issues can pop up. Here are common problems and how to fix them:
1. USB not booting
- Recheck boot priority in BIOS
- Try a different USB port (use rear panel ports on desktops)
- Recreate the bootable drive using the Media Creation Tool
2. SSD not detected
- Make sure cables are secure
- Use BIOS to confirm the drive is recognized
- Load necessary NVMe or RAID drivers from another USB
3. “Windows can’t be installed” errors
- Use the Drive options (advanced) to delete and recreate partitions
- Format the selected drive
4. Stuck on installation
- Restart the PC and retry the process
- Test the USB on another system to confirm the installer works
Still stuck? Contact Dave’s Computers for quick help, whether you’re across town or
managing a remote office team. We troubleshoot install problems daily and offer fast
solutions for local and business clients.
Post-Install Setup and Maintenance Tips
Now that your new PC has Windows installed, it’s important to establish a maintenance routine. This helps keep your system secure and running at peak performance — especially when paired with the right cooling setup, as explained in our guide on air vs liquid cooling for custom PC.
Here’s what to do:
- Run Windows Update to download security patches and drivers
- Install missing drivers using Device Manager or manufacturer tools
- Back up your system to an external hard drive or cloud tool
- Create a system restore point after setup is complete
- Install antivirus or enable Microsoft Defender
- Use tools like CrystalDiskInfo or Task Manager to monitor drive and memory health
We also recommend setting reminders for:
- Monthly Windows updates
- Regular backups
- Quick system health checks
For businesses, consider managed IT services. Dave’s Computers offers full-service
support across New Jersey, including system maintenance, virus protection, and remote
troubleshooting. Whether you need a new install or long-term support, we’ve got you
covered.
Need Help Installing Windows? Contact Dave’s Computers
Installing Windows on a new PC build is easier than ever, especially when you’re prepared.
But if something doesn’t go as planned, or if you just want professional help, our team at
Dave’s Computers is here to support you.
We offer:
- In-store and remote installation help
- Troubleshooting and data recovery
- Driver and BIOS configuration
- Backup setup and long-term PC maintenance
Ready to get started or run into a snag? Contact Dave’s Computers and we’ll help you install
Windows quickly and correctly. Let us take the stress out of the process, so you can enjoy
your new PC right away.