A Solid State Drive (SSD) is one of the most cost-effective and just plain effective upgrades you can buy right now. Especially when prices are dropping steadily and the price per gigabyte is at the lowest I have seen in a long time. If you have bought one and want to know how to migrate Windows 10 to a Solid State Drive, read on.
Cost aside, the performance upgrade you get with an SSD has to be seen to be believed. A new Windows 10 installation boots quickly on a standard hard drive, but can literally boot in seconds from an SSD. As long as the rest of your hardware is up to the task, it really is an upgrade worth doing.
To make this work you will need a legit copy of Windows 10 and a new SSD large enough to handle everything you want to copy across.
Migrate or clean install?
In an ideal world, we would all have the luxury of time and patience to perform a clean install of Windows 10 onto your new drive. Everything works better with a clean install. However, if you have gigabytes of data or spent months tuning Windows 10 to work just how you want it to work, you may not want to go through all the hassle of a fresh install.
In that case, we need a cloning tool. This is a piece of software that takes a snapshot of your entire hard drive and implants it onto the SSD. It isn’t enough to simply copy and paste files because Windows cannot copy or move protected files, Active Directory, the registry, Dynamic Link Libraries and all those other essentials that make up a functional Windows installation. A clone tool will lift all that information and make a direct copy of everything.
I tend to use a pro level tool here at Dave’s Computers as we perform drive copies all the time. However, for home use I would use aseUS Todo Backup Free. It is fast, reliable and easy to use. Best of all, for the occasional user it is free.
What preparations are needed to migrate Windows 10 to a Solid State Drive?
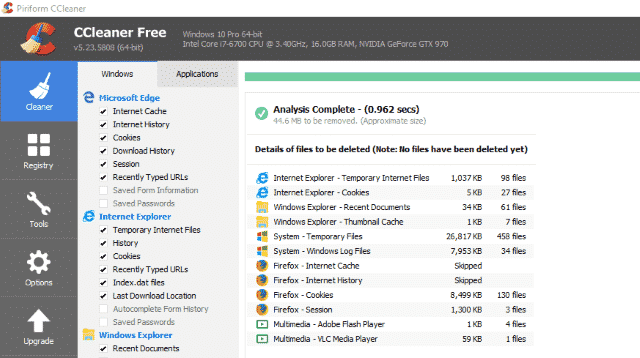
To prepare for migrating Windows 10 to an SSD, you should first clean up your current Windows installation. This involves emptying your Recycle Bin, deleting unneeded files and folders, uninstalling unused programs, running CCleaner (Cleaner, Uninstaller, Registry checker), defragmenting your main hard drive (Right click drive in Explorer, Properties, Tools, Optimize), and backing up all essential data to cloud or USB storage.
Perform these steps:
- Empty your Recycle Bin.
- Delete any folders and files you no longer need.
- Uninstall any programs you no longer use.
- Download and install CCleaner. Use the Cleaner, the Uninstaller and the Registry checker tool.
- Defragment your main hard drive. Right click the drive in Explorer, select Properties, Tools, Optimize.
- Back up everything you cannot afford to lose to cloud storage, USB storage or something else.
Why is backing up important before migrating Windows 10 to an SSD?
Backing up is important before migrating Windows 10 to an SSD because while the cloning process is reliable, it's crucial to safeguard against potential issues that could arise from significant system changes. By backing up, you ensure that if the worst happens, you can reinstall Windows and restore your files, preventing data loss. You can use Windows Backup for the entire OS or simply copy essential files and folders to a separate drive.
How do you clone a Windows 10 drive to an SSD?
To clone a Windows 10 drive to an SSD, first ensure your hard drive is cleaned up. Then, shut down your computer, attach the new SSD as a secondary drive, reboot, and use a cloning tool like aseUS Todo Backup Free. Select 'Clone' and 'Optimize for SSD' to complete the process. After cloning, shut down, replace the old boot drive with the SSD, and configure your BIOS/UEFI to boot from the SSD, ensuring AHCI mode is enabled if available.
- Shut down your computer.
- Attach your new SSD to your computer as a secondary drive.
- Reboot your computer.
- Start aseUS Todo Backup Free and select Clone from the left.
- Select ‘Optimize for SSD’ and let the cloning process complete.
Depending on the size of your hard drive, the process could be done in minutes or take a while longer. Don’t worry if it seems to take a while. The software is good at what it does and seemingly pauses at times. There is still stuff going on in the background though so be patient!
Once the process complete, close everything down and shut down your PC. Replace the boot drive with the SSD using a SATA cable. Place the old boot drive into another slot on the motherboard and boot into your system BIOS or UEFI.
You may need to tell the motherboard to detect an SSD before is recognizes it. Select the drive section of the BIOS and select Solid State Drive and AHCI mode if there is the option to. Set the system to boot from the SSD drive and not the older hard drive. Once done, save the changes and reboot.
What should you do after migrating to your new SSD?
After migrating to your new SSD, your computer should boot significantly faster. Once in Windows, you can copy back your saved files and decide whether to format your old hard drive for storage or keep it as a spare. Windows 10 will automatically enable Trim, which optimizes SSD performance and longevity, meaning you must never defragment an SSD. If you need to check Trim status or require further assistance, contact Dave’s Computers.
Once loaded into Windows, you can copy across all the files you saved elsewhere so they are accessible once more. You can then format the hard drive to use as storage or keep as a spare. It is entirely up to you.
That is all there is to migrating Windows 10 to a Solid State Drive. Windows 10 should automatically pick up that it is an SSD and enable Trim. This is a newer version of file management which spreads the read/write loads across the disk to prolong its life.
Once you begin using SSD, you have to remember to never defragment it. If you were in the habit of regularly defragging your hard drive, you need to stop it for the SSD right now. Nothing wears an SSD out like the defrag tool. Plus, with trim enabled, there should be no need to defrag it anyway. If you need to check whether trim is enabled or not, check out this useful tutorial.
If you need further help with the process or any computer issue, contact Dave’s Computers today. We are here to help!